Blog
Cannabis-Infused Strawberries n’ Cream Popsicles
Cannabis-Infused Strawberries n’ Cream Popsicles
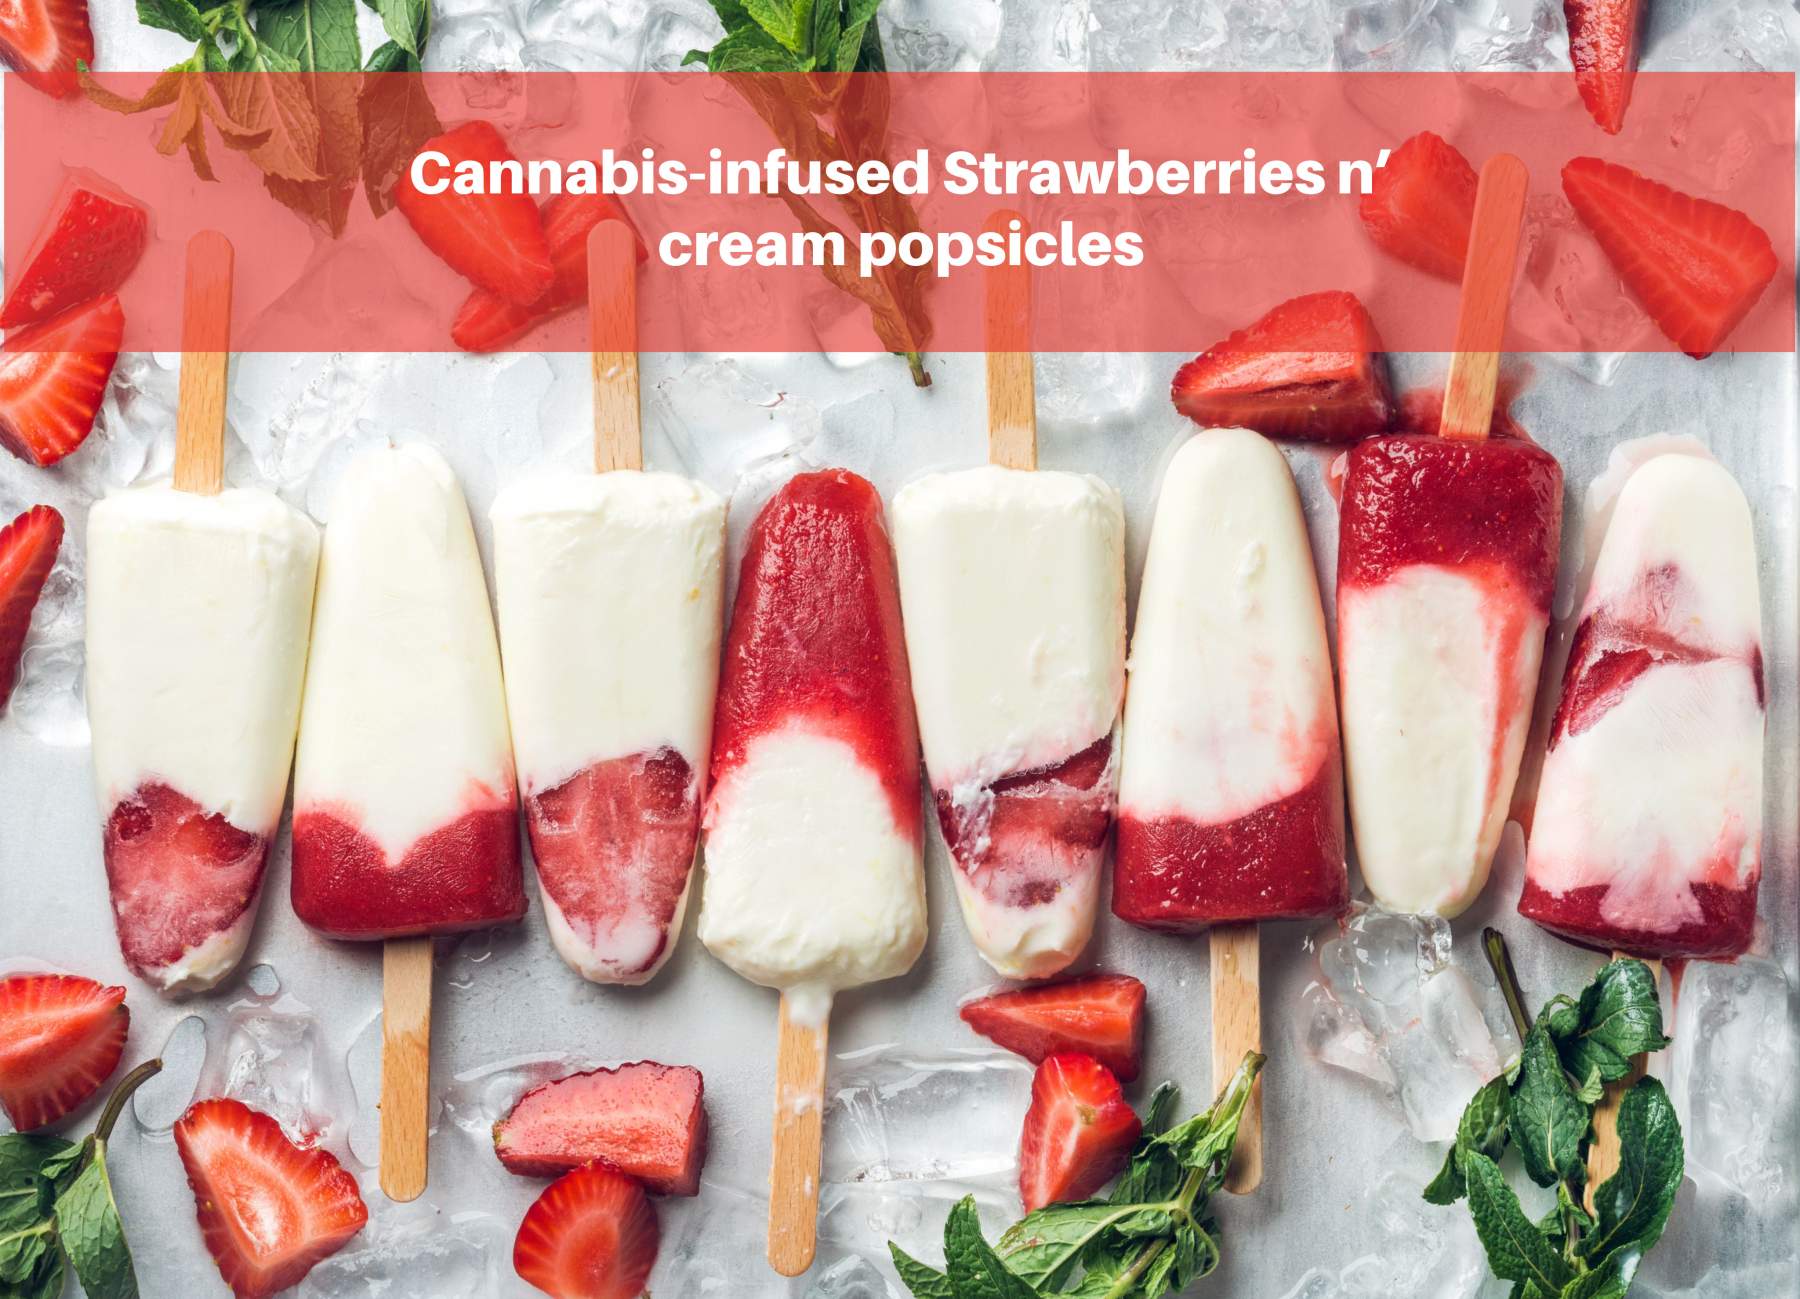
Are you looking for a tasty summer dessert? Try it infused with cannabis and you’re sure to have your tastebuds singing. This cannabis-infused recipe is easy to make, and doesn’t take up too much time.
Ingredients:
- Popsicle mold
- 1 ¼ cups fresh strawberries
- 2 tablespoons sugar
- 7-ounce can of coconut milk
- 1 teaspoon pure vanilla extract
- Your preferred dosage of any cannabis-infused tincture
Directions:
- To start, wash and hull your strawberries. Next, add them to a food processor. Add ½ of your sugar and puree into smooth.
- In a separate bowl, mix together the coconut milk, vanilla extract, and remaining sugar. Add in your preferred dosage of a CBD or THC tincture. This recipe can make 6 popsicles, so be sure to consider the dosage you would like for each popsicle. For example, if you want 10 mg per popsicle, add 60 mg to the bowl. If you want 5 mg, add 30 mg to the bowl.
- Lastly, fill your mold with the strawberry and coconut mixtures in alternating layers. Add popsicle sticks to your mold and freeze for 4 hours.
- Enjoy
Cannabis-Infused Tincture Recipe
Ingredients:
- 1⁄8 oz cannabis flower, can be buds, trim, or shake1 ¼ cups fresh strawberries
- 4 oz Everclear, 151, or similar very high proof liquor (do NOT use rubbing alcohol)
- 1 Grinder
- 1 Cookie sheet or baking pan
- 1 Glass jar
- 1 Cheesecloth
- 1 Dark glass dropper bottle for packaging
Step 1: Decarboxylate Your Cannabis
Take your dried cannabis and grind it. A hand grinder is best, but you can also use a food processor or coffee grinder. Once you’ve finely ground the cannabis, place it on a cookie sheet and bake at 240°F (115°C) for 20-30 minutes.
Step 2: Infuse the cannabis with alcohol
Once you’ve taken the cannabis out of the oven, pour it into a glass jar that you can tightly seal. Pour the alcohol into the jar and gently shake it before sealing and storing in a cool, dark space.
A general rule of thumb is the longer you store the tincture, the stronger the final product. If you do store it for more than 24 hours, make sure to give it a good shake once a day.
Step 3: Strain Your Tincture
Once you’re done letting the mixture sit, take it out and place a mesh strainer lined with cheesecloth over a large container. Pour the mixture into the cheesecloth and let it strain through, and then repeat a second time.
Step 5: Take the mixture and use a funnel to pour it into small glass dropper bottles. Make sure to use dark dropper bottles, which will suffer less light damage and thus have a longer shelf life.
Enjoy!